MMOs are usually at their best when you have good friends to hang out with. Some of my fondest gaming memories are of learning new dungeon and raid encounters with close groups of friends and teammates. But what if you’re still new to the game, or just prefer to keep to yourself for a while?
In WildStar, like most other MMOs, the very best gear is to be had within end-game group content. If you don’t want to raid, there are still a ton of activities you can do solo or with small groups of friends, and higher ilevel gear can help those activities go a lot more smoothly. Getting gear when you’re solo is a slow and steady process. Here’s some things you can do to gear up without stressing out about other people:

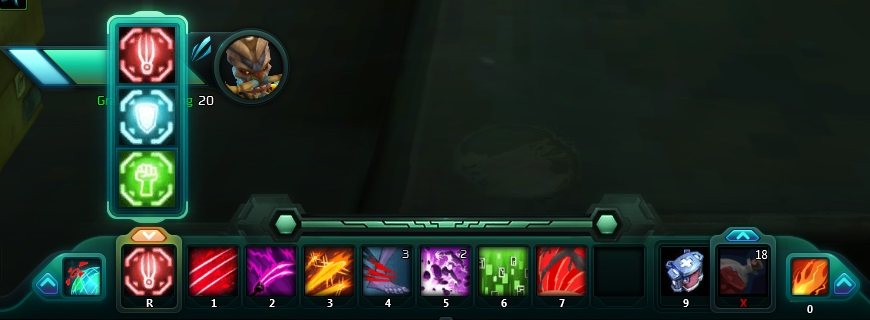
Spellslinger starter PvP gear.
PvP: Ok, I know it seems weird to put this first considering if you don’t want to play with others then you probably REALLY don’t want to PvP, but hear me out. First and most importantly, the Season 2 PvP vendor in your faction’s spaceport carries entry level PvP gear that is ilevel 65 and can be purchased with gold. If you’re a fresh 50 this is an amazing way to get yourself started. The stats aren’t optimal for PvE but they darn sure will be better than the random leveling gear you may still be wearing, and way cheaper than buying from the auction house. If you’re brave enough to queue for PvP for a while you can also buy the ilevel 70 gear with prestige. Both the gold and the prestige sets look amazing, by the way, so that’s some more incentive to check them out!
The other really important thing you can buy with prestige is AMP and Ability Points. In fact, as a fresh 50 this is the fastest way to get those first few upgrades (other than the auction house) if you can stomach dying in PvP for a while. All of the other methods are gated behind reputations, questing, or weekly currency caps.

Quests in Northern Wastes
Questing: There are level 50 daily quests available in Star Comm Basin, Defile, Blighthaven, Northern Wastes, and Crimson Badlands. There’s also the R-12 event in Malgrave. This is not a glamorous way to get gear, but it can yield upgrades in several ways. Firstly, it gets you out in the world, killing things. Those things you kill often drop loot, and as a fresh 50 some of that loot might just be an upgrade. Secondly, all of the level 50 daily quest zones have associated reputations. Raising your rep with a given faction will unlock new items from their vendor, including gear and AMP and Ability Points. It can take a few weeks of questing to raise a reputation all the way to the maximum, so take a look at all the vendors and prioritize one or two to focus on at a time. Finally, all that questing will be earning you elder gems, and you can also pick up the elder gem weekly quest for even more. There’s no gear available from the elder gem vendor, but there are AMP and Ability Points. Once you’ve hit your weekly elder gem cap, you’ll also start earning extra cash from questing.

Another excuse to post one of my many Scorchwing pics.
World Bosses: Yes, this is another activity that technically requires other people, but it is usually fairly quick and painless. In fact with the way that world bosses currently work, you don’t even have to be in a group to get credit for the boss kill. It is preferable to group up though, since you’ll have a chance at more loot if your group is the one that tags the boss, and also you can get some healing if you need it during the fight. World bosses will reward you with a goody bag that can contain gear, decor, costumes, or even pets.

My favorite way to pass the time is sadly not the best way to gear up.
Expeditions: If you’ve been reading my blog for a while you know that these are one of my favorite activities in the game! You can queue for vet expeditions solo and you should be able to complete them even as a fresh 50, especially with a little bit of gear from one of the above sources. Expeditions reward renown which may buy you some upgrades, and the daily quest will give you a little extra renown plus some cash. Sadly with the changes to the difficulty and the ease of getting gear in other ways this method is better for getting cosmetic rewards and decor than for gearing up as a fresh 50.

Contract Board, Contract Rewards.
Contracts: The contract board can make all of the above methods extra rewarding without any extra effort. Just make sure to load up on appropriate contracts for the day, whether you plan to do PvP or PvE activities. You can skip the dungeon and adventure ones, but the rest fall into the categories above. I try to base my daily questing on whatever contracts are available. Reaching each milestone will allow you to select a piece of either assault or support gear of ilevel 80. The casques that are available when you completely fill up your contract meter can reward ilevel 100 gear. That’s as high as raid gear!

Look for this symbol to trade in your promissory notes for reputation.
An added bonus of doing contracts is they frequently reward Protostar Promissory Notes. These can be traded in to reputation exchange NPCs for any of the daily zone factions to help speed up your reputation gains and unlock those rewards even faster. This is especially helpful for the Malgrave faction, since it is very slow to get reputation from the R-12 event alone.

A sample of the raid-quality (ilvl 85+) gear available on the auction house
Money: So hopefully doing all the activities here, plus whatever else keeps you happy in game, has left you with a little extra plat. The last place you can get some great gear is the auction house. If you save your pennies you should be able to buy some really fancy stuff for yourself. I’ve purchased a couple pieces myself, including the bind-on-equip Datascape weapons. If you can afford it, and can stand being patient until you see a good deal, you can get great raid-quality gear without ever even getting attuned.
Now you’ve got a ton of ways to gear yourself up at your own pace, on your own terms. WildStar’s group content is awesome but dungeons and raids aren’t for everyone. But fancy gear is important no matter what kind of player you are!
*This content was originally posted at WildStar-Core. I’ve reposted it here for safekeeping since that site is no longer operating.